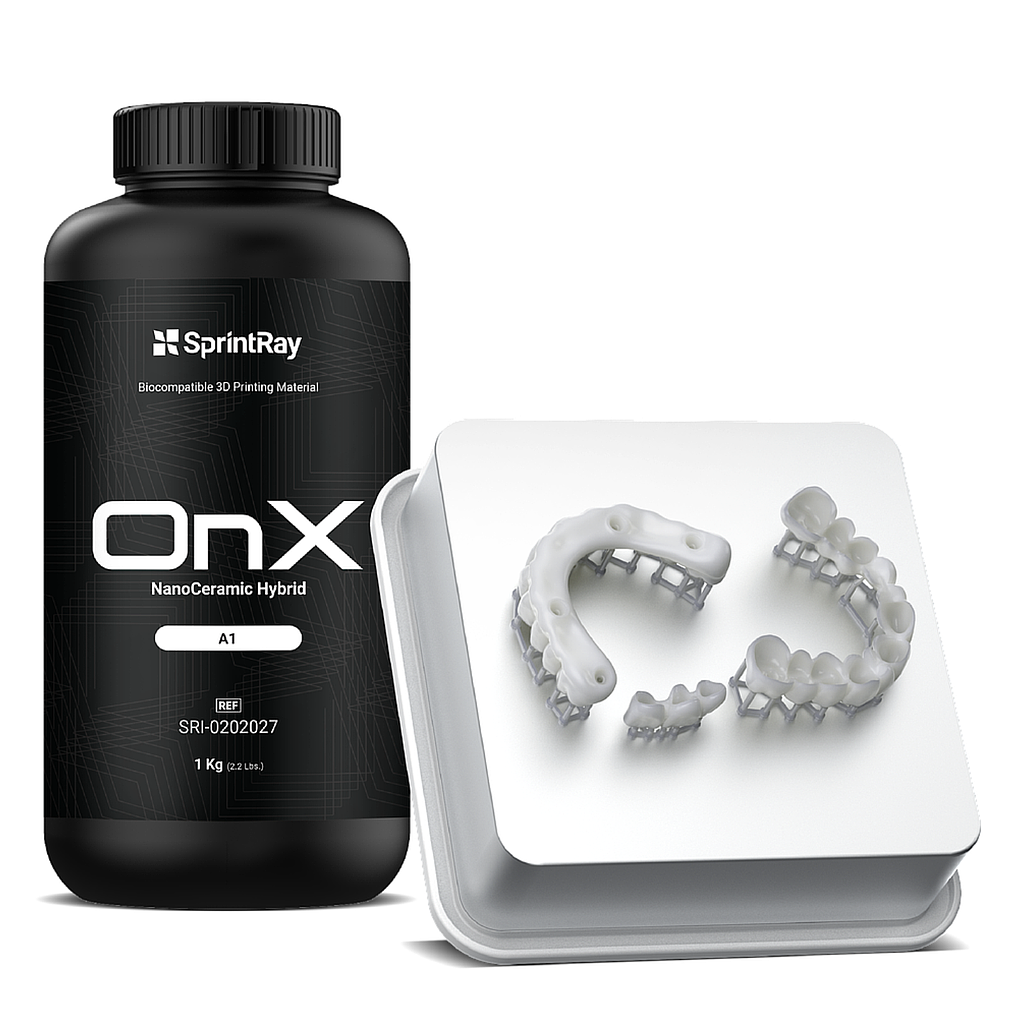
I have been using detax freeprint temp A1 shade resin for maybe half a year now.
They only have it in A shades, and you can hit darker ones using A1 resin and stain it after the print.
It's 12 mm² for anterior and 15 mm² for posteriors for the connectors.
They don't recommend more than 4-5 units in a bridge with one pontic per. If i remember correctly.
Resin is 385nm so make sure your lamp is suitable for final cure.
It takes the shade rather well after super light sandblast.
Post processing depends on if you are forced to put a lot of print supports on occlusals or not, and your IPA cleaning routine.
And in my experience those two are connected.
At first I was laying crowns flat occlusion down first and that would require a lot of supports, and a lot of grinding afterwards. Also lots of support also prevent proper cleaning with IPA.
Depending on the case , I would either use the preferred library and alter(destroy while modeling) occlusal so as to not have any secondary/small cusps , or I would start with the library that doesn't have any to begin with. Those extra cusps would create overhangs and thus require another print support for each. And that meant more grinding and I hate grinding , the occlusion especially .
And now I also tilt crowns and smaller/straight posterior bridges so I can get away with one big support(plus any fins from it, if needed) per tooth. The angle is similar to the recommended emax sprue guide, now that I think of it.
That angle also breaks the tension for any leftover uncured resin so you get less crowns filled to the top with resin. It drips out when left for 10min or so after printing and thus cleans easier in IPA. One exception are narrow/deep insides that rarely drip out at all. I deal with those with a toothpick

Also, a video I saw a while back of some resin creator guy from germany(Saremco) saying how even the recommended 5 min wash in IPA (3+2) is too much and weakens the crown, so even the fully cured resin afterward that he tested was some nice amount weaker.. was it 20-30%?, I can't remember tbh. But it was enough to make me try and clean in IPA as fast as possible.
I don't go crazy like he does:
But I do give it a nice dip in IPA, swirl around a bit, then try to get the stuff in the crowns mixed with IPA with a toothpick.. gently, another swirl and spray it with clean IPA, then blow dry it. And repeat:
spray in crowns-> mix with toothpick-> dry, if needed.
So a design that drips out most of the resin and cleaning it like I just described for a minute or two does a better job then doing the recommended route in the ultrasonic for 5 min total I was doing before. And you get clean occlusion of any supports on top.
In short: I hated cleaning and finishing the prints and now it's somewhat of a routine, and quite easier than I ever thought could be. I just stuck with it and found a way that worked for me. Hopefully it might help you out or give you an idea or two.
I would also like to try some other resin and see how it handles compared, but now I'm too scared as I got used to this one.